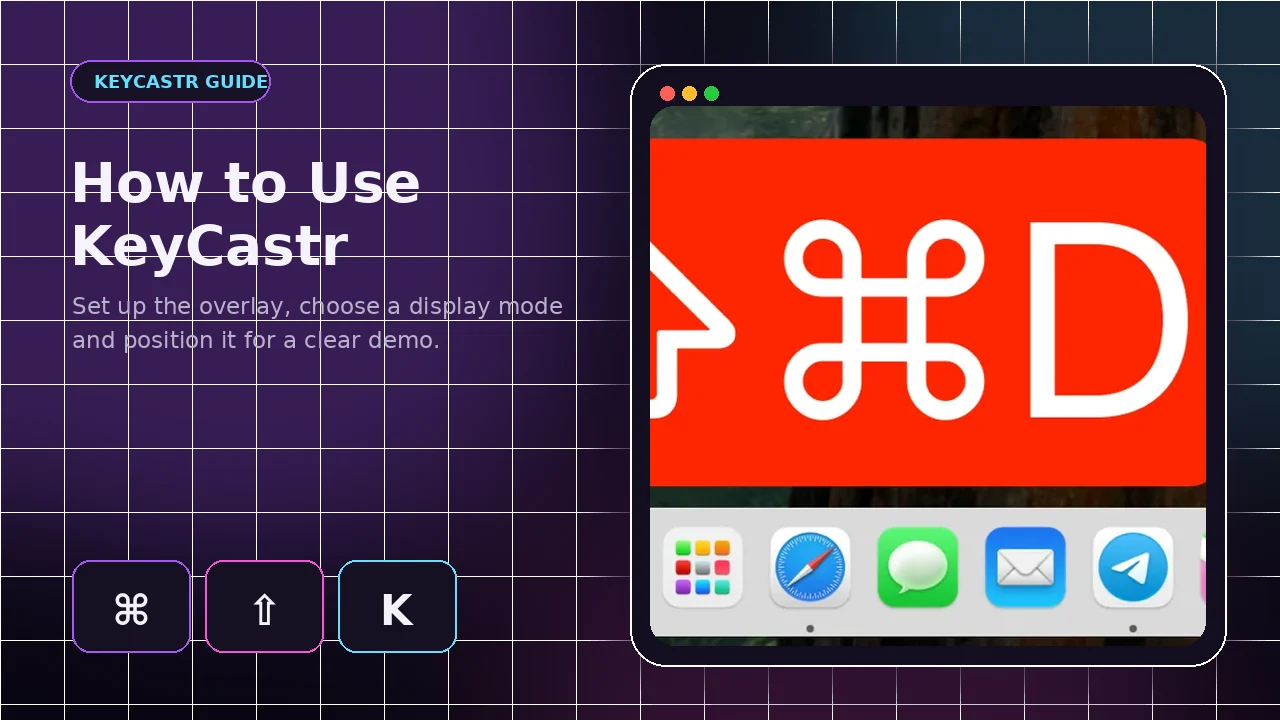
KeyCastr is easiest to understand when you treat it as a small presentation layer rather than a typing app. It listens for approved macOS input events, filters them according to your selected mode and places the result over the desktop. The steps below move from first launch to a polished recording setup.
Grant the required macOS permission
Launch KeyCastr once
Open the application so macOS can register it in Privacy & Security. On macOS 10.15 and later, enable KeyCastr under Input Monitoring. Older supported versions may use Accessibility instead.
Restart after permission changes
macOS may ask you to quit and reopen the app. Do that before testing; permission changes often do not affect an already-running process.
Choose what KeyCastr should display
Command Keys Only
This is the least distracting mode. It is suited to tutorials where the audience mainly needs shortcuts involving the Command key.
All Modified Keys
Use this when Shift, Option, Control and Command combinations matter, but normal typing would create too much visual noise.
All Keys
This mode shows regular typing as well. It can be useful for keyboard lessons, but it should be disabled before entering private or sensitive text.
Select and style the visualizer
Default versus Svelte
The Default visualizer presents a compact keystroke overlay. Svelte provides an alternative look and is useful when you need to confirm that events are arriving but the normal overlay may be off-screen.
Size, colors and timing
Increase font size for classroom projection, choose high-contrast bezel and text colors, and adjust linger time so shortcuts remain visible long enough to read without covering the next action.
Position the overlay for the recording
Drag the visible keystrokes
Press a shortcut to make the overlay appear, then drag the displayed text to a clear corner. Avoid covering menus, captions, terminal prompts or controls that viewers need to see.
Test the capture
Record a short sample or preview your live scene. Confirm that the overlay is included, readable at the final output resolution and not hidden behind another window.
A practical presentation checklist
Before going live
Choose the display mode, hide confidential notifications, test the overlay position and confirm the capture source includes KeyCastr.
During the session
Pause before and after important shortcuts so the audience can connect the visible keys with the result. Disable All Keys when typing any private information.